If you haven’t heard of virtual headshots before- they are a great way for remote teams or large companies with offices in multiple locations to get consistent, professional looking headshots, virtually! Our virtual headshot service is essentially a retouch service- it begins with us sending out a guide that can be passed on to a team or individual outlining how they can self shoot their own headshot. This image, or images, are then sent over to us to be hand retouched- and that is what we’re going to explain today.
Clipping Path
Once a self shot image is received by us, the first step is to create a clipping path which essentially means cutting out the subject from the background.
Background Swap
When the subject has been separated from the background, we then drop in the new background. Rather than create a flat, solid colour background, we add in some extra steps, creating texture and adding shadows so it looks like a real studio backdrop was used. This is of course optional, but it makes for a much more realistic looking shot. Some clients also prefer to have an environmental backdrop- for example their offices.
Retouch
Now we move onto the bit all of our clients love- the retouch. Now, we like to recommend a what we call a realistic retouch and by this we mean that we do leave natural lines, under the eyes for example, and skin pores remain, we just massively reduce them. We start by cloning out everything, and then slightly bring it back. There are of course some things that we completely remove- spots for example. The final stage of the retouch is to smooth out the skin.
Dodge & Burn
Next we carry out what is called a ‘dodge and burn’. Essentially we paint over the image- increasing the contrast between light and dark areas on the face and hair. This same technique is used by beauty photographers and allows us to subtly adjust the light across a subjects face. During this process we will also slightly increase the brightness of the eyes- making them pop nicely.
Finishing Touches
So now we have swapped out the background and retouched our subject, it’s time to apply the finishing touches to bring everything together. The first step is to adjust the warmth of the image. Self shot images usually look a bit more orange than a studio headshot, so we reduce the colour temperature slightly. We then make some slight adjustments to the brightness and contrast, and boost the sharpness slightly.
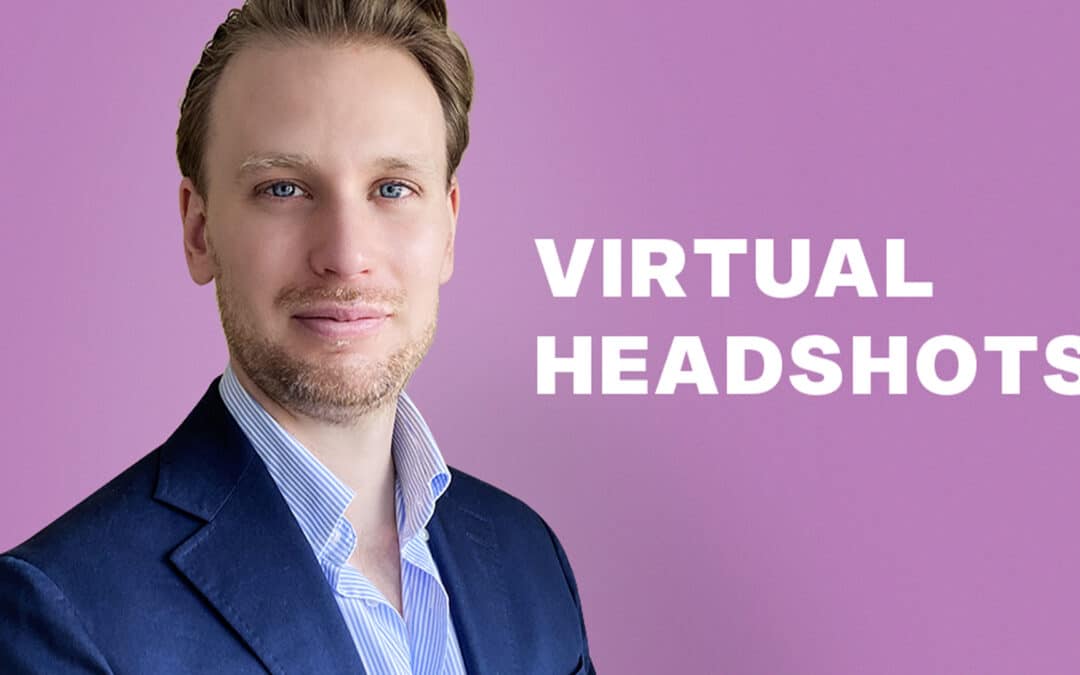
The final step is to crop the image- this particular client has specified a tight headshot style crop to fit in with their existing headshots.
And there we have it- that is how each virtual headshot is processed by us. Below you can see the before and after images. Quite an improvement, and the end result is not far from a professionally shot headshot!
We hope you found this article helpful, and we encourage you to take advantage of our virtual headshot service. If you have any questions about how it works or if there’s anything else we can do for your business, please don’t hesitate to contact us!
Recent Comments